A Guide To Reading Knitting Charts
Charts have several advantages over row-by-row knit-ting instructions written out in words: You can see how the pattern will look and how the stitches relate to one another. These days, more and more patterns are being charted instead of written out row-by-row, and that means it is more important than ever to learn how to read them. By adding this skill to your repertoire, your choices as a knitter will no doubt expand as you will be able to tackle projects in other languages.
How Charts Work
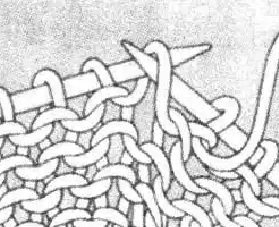
Charts are a visual representation of a knitted fabric viewed from the right side. In a chart one square represents one stitch and one horizontal row represents one row of knitting. The symbols or colors in the squares indicate how to work each stitch. Charts are usually read from the bottom to the top, right to left for right-side rows, and left to right for wrong-side rows. When knitting in the round (where the right side of the knitting is always facing out), all rows are read from right to left.
Generally speaking, the chart symbols should line up in the same way as your knitting. If you compare a chart to your finished knitting, you should see a visual similarity. This makes it much easier to track where yo uare in the knitting, as opposed to written out, row-by-row instructions, which can become overwhelmingly dense in a complicated pattern
Symbols
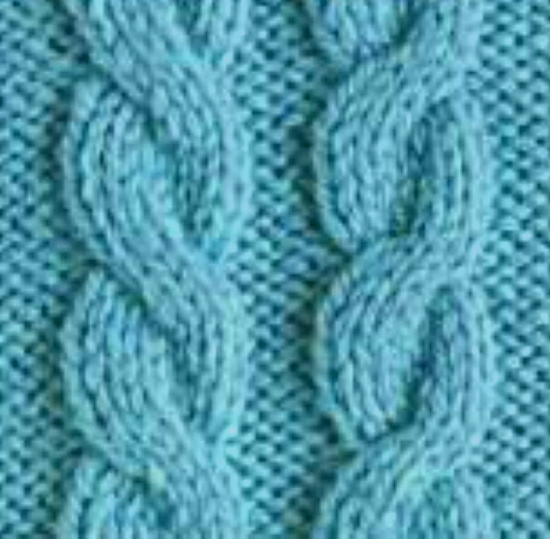
Symbols usually represent what a stitch looks like when viewed on the right side. The stitches symbols on a chart mimic the look of the stitch on the knitted fabric, so a right leaning symbol will denote a right leaning stitch.
Most symbols represent two different moves; one for right-side rows and another for wrong-side rows as they are usually shown from the right side of the work. For example; for stockinette stitch, you knit the stitches on right-side rows and purl them on wrong-side rows. However, charted stockinette stitch shows only the right, or knit, side.
Row Numbers
These are usually depicted on the sides of the chart. Row numbers appearing along the right edge denote right-side rows to be read from right to left. Row numbers appearing along the left edge denote wrong-side rows to be read from left to right. Most charts show the entire pattern repeat.
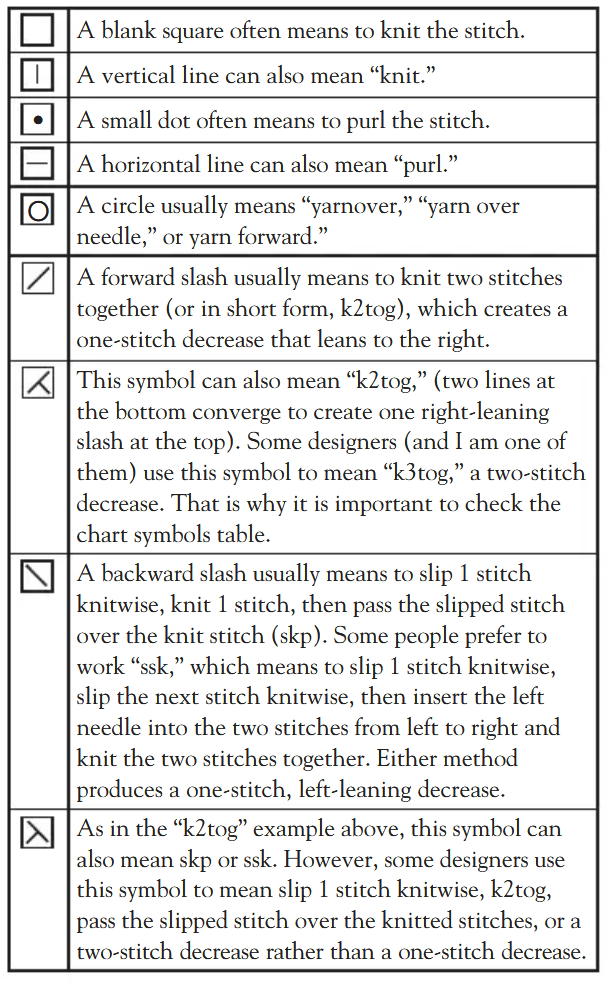
Lace Chart Symbols
Some typical lace chart symbols are show on the table below These are just a few of the symbols you could encounter as you work a chart for lace, and when you read the descriptions you can see that there are already potential problems if you don’t familiarize yourself with the designer’s intentions first. There have been various attempts to standardize the symbology of knitting charts, but individual designers in North America like the freedom of adapting or changing symbols to suit their taste. In Japan, knitting and crocheting symbols have been standardized by the Japanese Industrial Standard, and all published material adheres to this standard. Patterns are created as schematics and charts, with very little written instruction, so if you understand the “language” of the charts you don’t need to understand Japanese in order to knit from them. Estonian chart symbols are different again, using black squares representing knit stitches.

I print the chart then use different color highlighters to delineate each different stitch, and match color to the key chart. I don’t highlight the K or P, just the cables, twists, etc. This simple step at the start helps to avoid errors and speeds my knitting along. I hope this helps new knitters
Knitting charts are very confusing. No standardized symbols. You must memorize each patterns set of instructions. I find them to be not very helpful at all
Hi, I’m looking for a chart or pattern for you “Celtic Cable within Cables”. It looks so lovely and I can’t find anything else like it. When I click on the associated link it takes me back to the image over and over, without any pattern. Am I missing something, or have you not listed the recipe for this yet? I would love to try knitting this if you would share. Thanks!