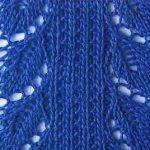
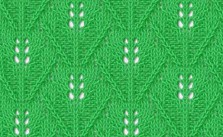
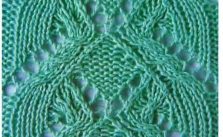
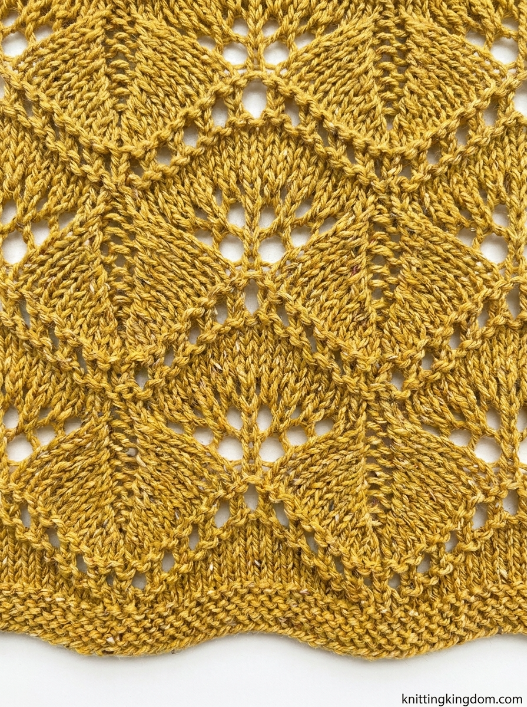
This scalloped leaf lace knitting stitch creates overlapping rows of large, fan-shaped leaves with delicate eyelets and softly curved edges. The combination of yarn overs and decreases produces the distinctive leaf veins, while the changing placement of the motifs creates the layered, scalloped effect.
Worked over a multiple of 18 stitches + 1 with a 14-row repeat, this decorative lace pattern would be beautiful for shawls, scarves, wraps, lightweight tops, blankets and other projects where you want a bold botanical or leaf lace design.
Pattern Details
Stitch multiple: multiple of 18 + 1 stitches
Row repeat: 14 rows
Abbreviations
k – knit
p – purl
st(s) – stitch(es)
yo – yarn over
k2tog – knit 2 stitches together
p2tog – purl 2 stitches together
ssk – slip 1 stitch knitwise, slip the next stitch knitwise, then knit the 2 slipped stitches together through the back loops
ssp – slip 1 stitch purlwise, slip the next stitch purlwise, return them to the left needle and purl them together through the back loops
RS – right side
Scalloped Leaf Lace Written Pattern
Cast on a multiple of 18 stitches + 1.
Row 1 (RS): p1, *k17, p1; repeat from * to end.
Row 2: k1, *p17, k1; repeat from * to end.
Row 3: p1, *k2tog, k6, yo, k1, yo, k6, ssk, p1; repeat from * to end.
Row 4: k1, *ssp, p13, p2tog, k1; repeat from * to end.
Row 5: p1, *k2tog, k4, (yo, k1) 3 times, yo, k4, ssk, p1; repeat from * to end.
Row 6: k1, *ssp, p13, p2tog, k1; repeat from * to end.
Row 7: p1, *k2tog, k2, (yo, k1) 7 times, yo, k2, ssk, p1; repeat from * to end.
Row 8: k1, *ssp, p17, p2tog, k1; repeat from * to end.
Row 9: p1, *k2tog, k15, ssk, p1; repeat from * to end.
Row 10: k1, *p17, k1; repeat from * to end.
Row 11: p1, *k17, p1; repeat from * to end.
Row 12: knit.
Row 13: p1, *yo, k2tog; repeat from * to end.
Row 14: knit.
Repeat Rows 1–14 for the pattern.
Helpful Knitting Notes
This lace pattern changes stitch count temporarily as the leaves grow and contract. Do not expect to have the original number of stitches at the end of every row. The increases and decreases across the full 14-row repeat return the fabric to the correct stitch count.
Rows 3, 5 and 7 gradually open the leaf. The increasing number of yarn overs creates the decorative eyelets that radiate through the centre of each motif.
Row 7 is the widest point of the lace section, so take particular care with (yo, k1) 7 times. After completing those seven repeats, there is another yo before k2.
Rows 4, 6 and 8 contain decreases worked on the wrong side. These help shape the curved edges of the leaf and bring the expanded lace section back inward.
Row 13 creates the line of small eyelets between the larger leaf motifs. Be careful not to omit the initial p1, as this helps maintain the placement of the repeating design.
Choosing Your Cast-On Number
Use:
18 × number of repeats + 1 stitch
1 repeat: 19 sts
2 repeats: 37 sts
3 repeats: 55 sts
4 repeats: 73 sts
5 repeats: 91 sts
Tips for a Neater Leaf Lace Pattern
Use stitch markers between the 18-stitch repeats while you are learning the pattern. They make it much easier to spot a missed yarn over or misplaced decrease before you have knitted several more rows.
The lace will look considerably more defined after blocking. Gently opening the fabric during blocking allows the eyelets to spread and reveals the large scalloped leaf shapes that give this knitting stitch its character.