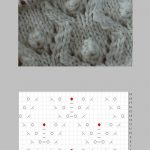
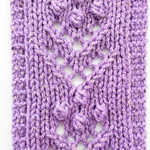
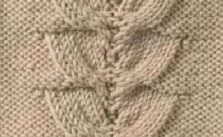
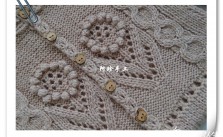
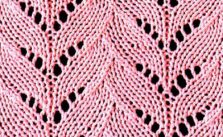
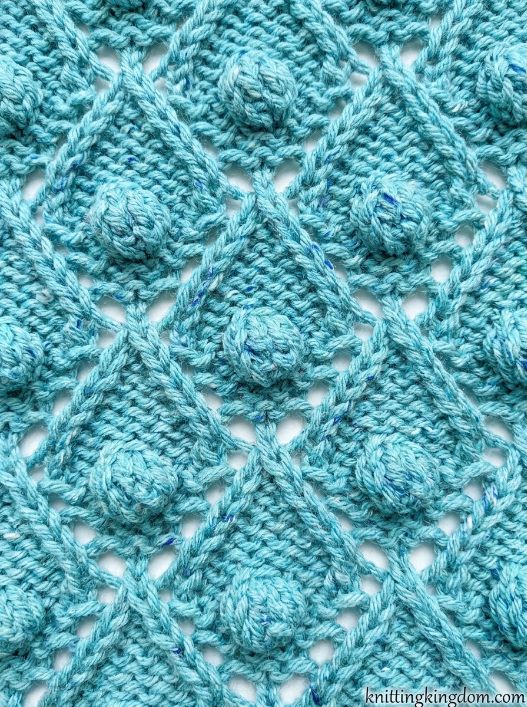
The Lacy Bobble Stitch combines raised knitted bobbles with openwork lace to create a highly textured, decorative fabric. Curving lines of eyelets frame the bobbles, producing repeating oval and diamond-like motifs across the knitting.
This bobble lace knitting pattern is worked over a multiple of 10 stitches plus 1 with a 16-row repeat. It is an attractive stitch for scarves, wraps, cushion covers, blankets, sweaters and decorative knitted panels where you want a combination of lace and three-dimensional texture.
Pattern Details
- Stitch Multiple: Multiple of 10 + 1 stitches
- Row Repeat: 16 rows
- Techniques: Knit, purl, yarn over, decreases, twisted stitches and bobbles
Abbreviations
- k: knit
- p: purl
- st(s): stitch(es)
- yo: yarn over
- sl 1: slip 1 stitch knitwise
- psso: pass slipped stitch over
- k2tog: knit 2 stitches together
- p2tog: purl 2 stitches together
- ptbl: purl through the back loop
- MB: make bobble
How to Make the Bobble
MB: (k1, yo, k1, yo, k1) all into the next stitch, turn, p5, turn, k5, turn, p2tog, p1, p2tog, turn, sl 1, k2tog, psso.
The bobble begins with one stitch, temporarily increases to five stitches and is then decreased back to one stitch. The work is turned several times while making the bobble. Complete the entire bobble before continuing along the main pattern row.
Lacy Bobble Written Pattern
Cast on a multiple of 10 stitches + 1.
Row 1 (RS): p1, *yo, sl 1, k1, psso, p5, k2tog, yo, p1; repeat from * to end.
Row 2: k1, *k1, p1, k5, p1, k2; repeat from * to end.
Row 3: p1, *p1, yo, sl 1, k1, psso, p3, k2tog, yo, p2; repeat from * to end.
Row 4: k1, *k2, p1, k3, p1, k3; repeat from * to end.
Row 5: p1, *p2, yo, sl 1, k1, psso, p1, k2tog, yo, p3; repeat from * to end.
Row 6: k1, *k3, p1, k1, p1, k4; repeat from * to end.
Row 7: p1, *p3, yo, slip 2 stitches knitwise, k1, pass both slipped stitches over, yo, p3, MB; repeat from * to the ending repeat, p4.
Row 8: k1, *k3, p3, k3, p1 tbl; repeat from * to the ending repeat, k4.
Row 9: p1, *p2, k2tog, yo, p1, yo, sl 1, k1, psso, p3; repeat from * to end.
Row 10: k1, *k2, (p1, k3) twice; repeat from * to end.
Row 11: p1, *p1, k2tog, yo, p3, yo, sl 1, k1, psso, p2; repeat from * to end.
Row 12: k1, *k1, p1, k5, p1, k2; repeat from * to end.
Row 13: p1, *k2tog, yo, p5, yo, sl 1, k1, psso, p1; repeat from * to end.
Row 14: k1, *p1, k7, p1, k1; repeat from * to end.
Row 15: k2tog, *yo, p3, MB, p3, yo, sl 2 stitches knitwise, k1, pass both slipped stitches over; repeat from * to last 9 sts, yo, p3, MB, p3, yo, sl 1, k1, psso.
Row 16: p1, *p1, k3, p1 tbl, k3, p2; repeat from * to end.
Repeat Rows 1–16 for the pattern.
Helpful Knitting Notes
The lace motifs are shaped with yarn overs and paired decreases. As you work through the repeat, the eyelets move across the fabric to form the curved outlines surrounding the raised bobbles.
The bobbles are introduced on Rows 7 and 15. Each bobble begins and finishes as one stitch, so making a bobble does not alter the final stitch count of the row.
Rows 7 and 15 contain a double decrease. Slip 2 stitches knitwise, knit the next stitch, then pass both slipped stitches over the knitted stitch. Three stitches become one, balancing the two yarn overs in that section.
Pay particular attention to Rows 7 and 15 because they combine yarn overs, double decreases and bobbles in the same row. Stitch markers between repeats can make these rows considerably easier to follow.
The twisted purl stitches on Rows 8 and 16 help define the texture around the bobbles.
Choosing Your Cast-On Number
Use:
10 × number of repeats + 1 stitch
- 1 repeat: 11 sts
- 2 repeats: 21 sts
- 3 repeats: 31 sts
- 4 repeats: 41 sts
- 5 repeats: 51 sts
Finishing Tip
Blocking helps open the lace eyelets and makes the curved shapes around the bobbles more visible. Take care not to flatten the bobbles during blocking; arrange the lace while allowing the raised bobbles to retain their three-dimensional shape.